Test web push on your website
Get started for free
The trial version includes all features
Your first steps in PushPushGo
Gathering subscriptions for web push notifications on Safari requires the key and certificate.
Those elements must be placed in the PushPushGo App, in the projects settings. This is the only way to display subscription form on your domain, on the Safari browser.
Important: Your Safari certificate remains valid for 389 days. After this period, it will expire.
Below you can find the instruction on how to create such files step by step:
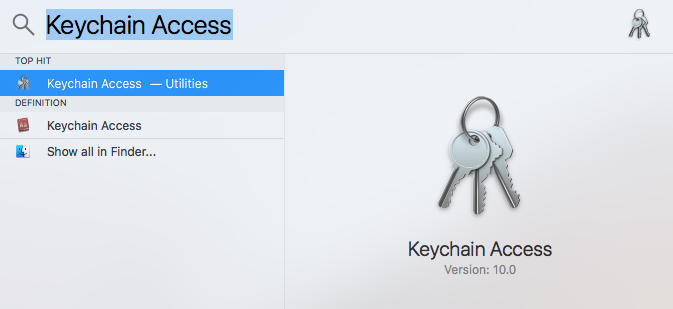
1. By CMD Space shortkey, search the Keychain Access.
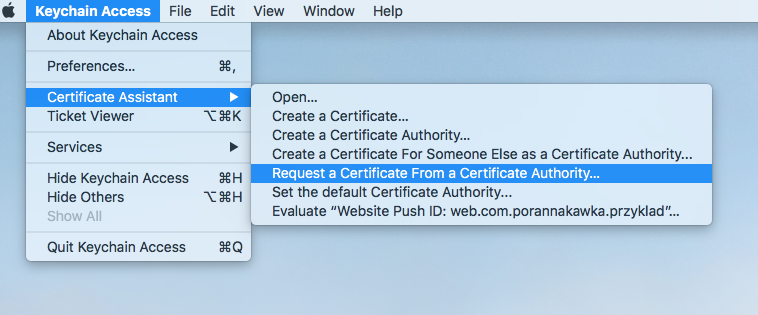
2. In the left upper corner of the screen, the Keychain Access will appear. Click on it, then choose Certificate Assistant > Request a Certificate From a Certificate Authority.
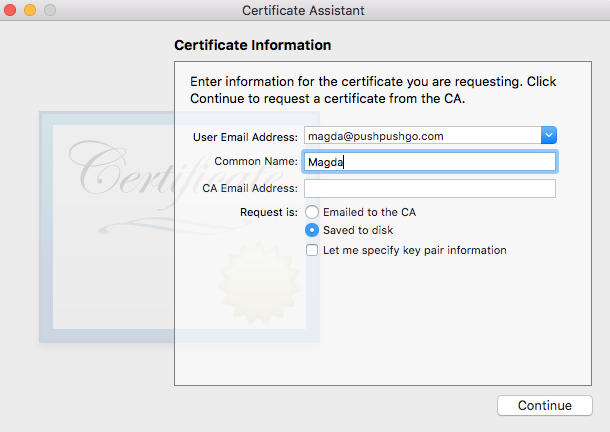
3. In the Certificate Assistant window, enter your e-mail address and name of your certificate. Then click Saved to disk and Continue.
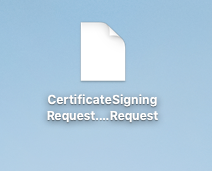
4. Save the Certificate Signing Request. It will be necessary to create the right certificate.

5. Login to your Apple account https://developer.apple.com/
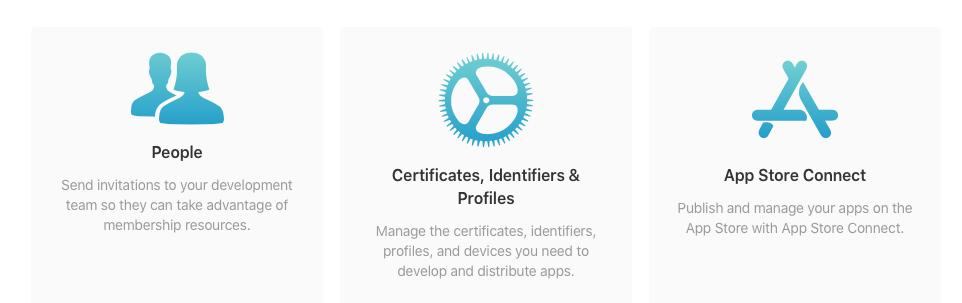
There you will have to create your project ID. Then enter the Certificates, Identifiers & Profiles tab.
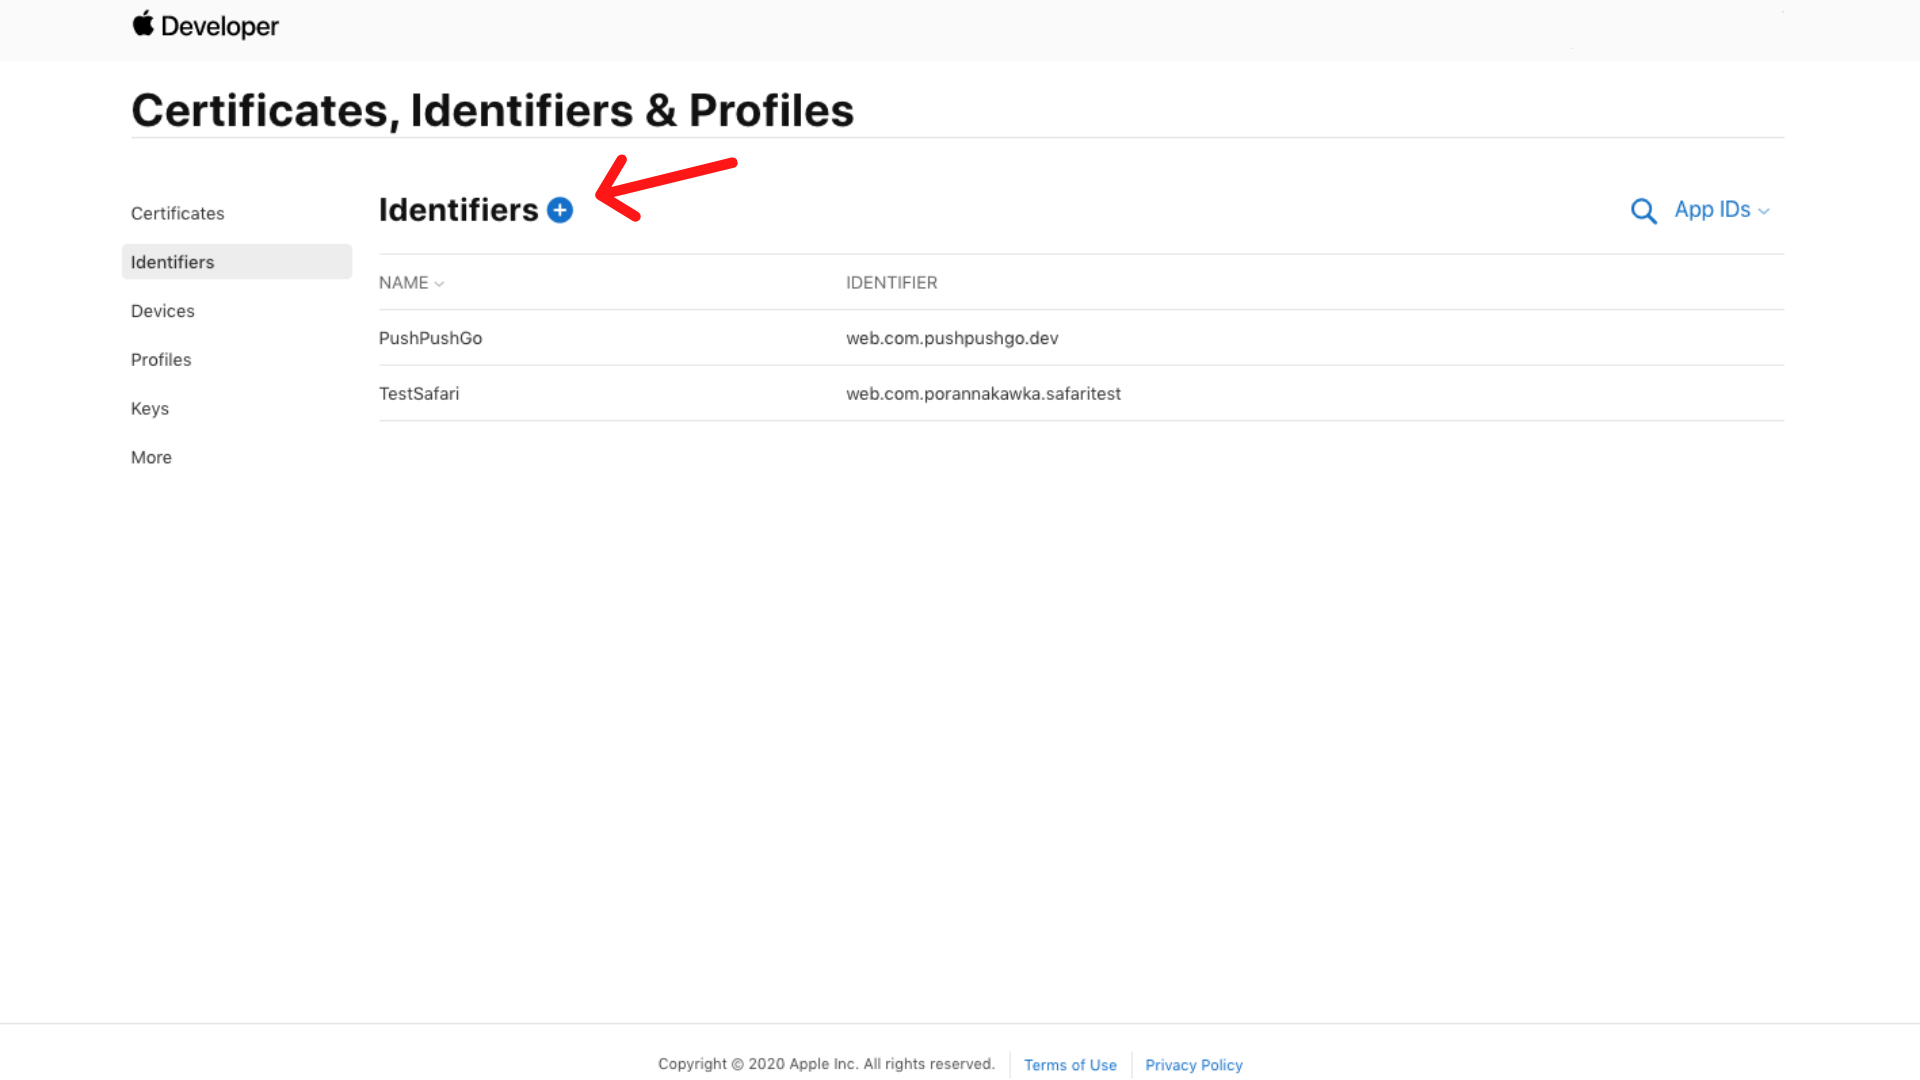
6. Choose the Identifiers tab and click on the "+" icon to create a new ID.
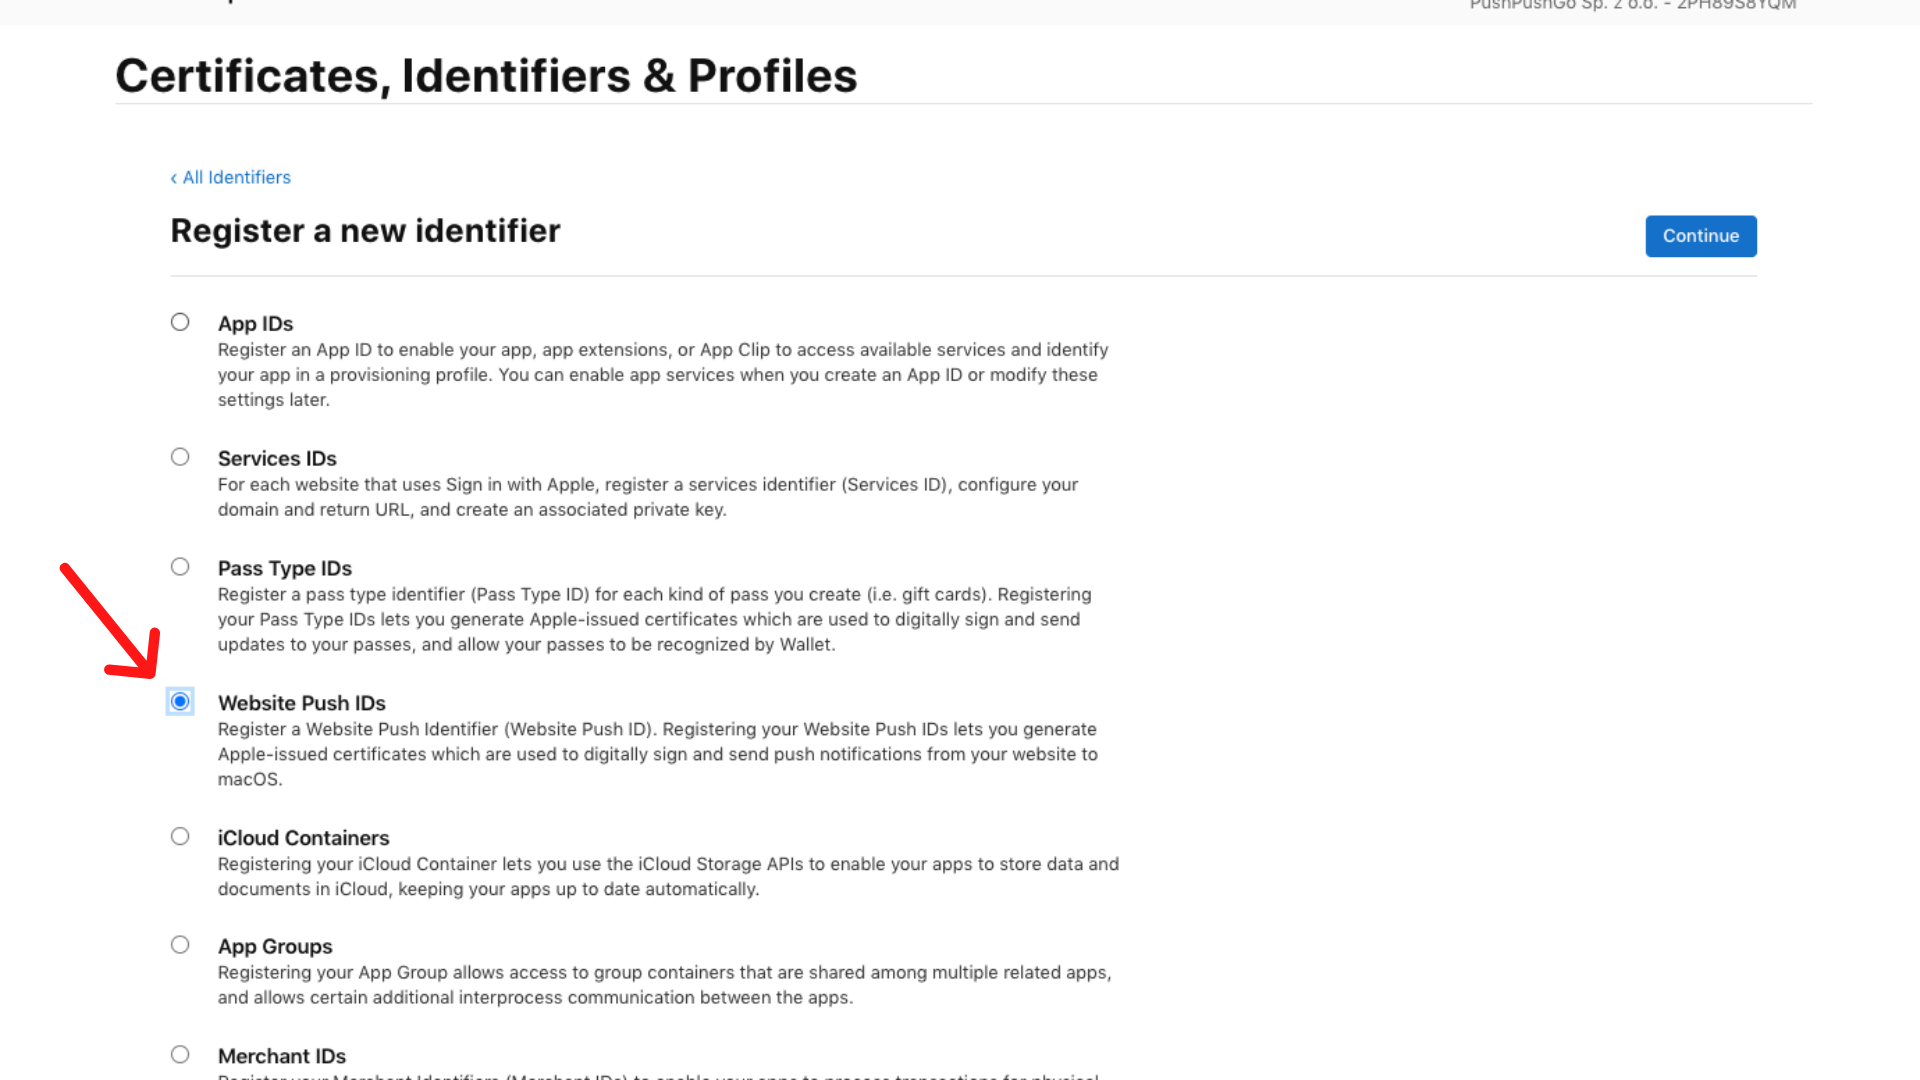
Next, select Website Push IDs and confirm it by Continue and Register.
7. Website Push ID Description - here you need to type the name of your project.
Identifier - here enter the URL of your project (where you wish to display the subscription form). Remember! The URL must be written conversely like web.com.porannakawka. It is called Reverse Domain Style.
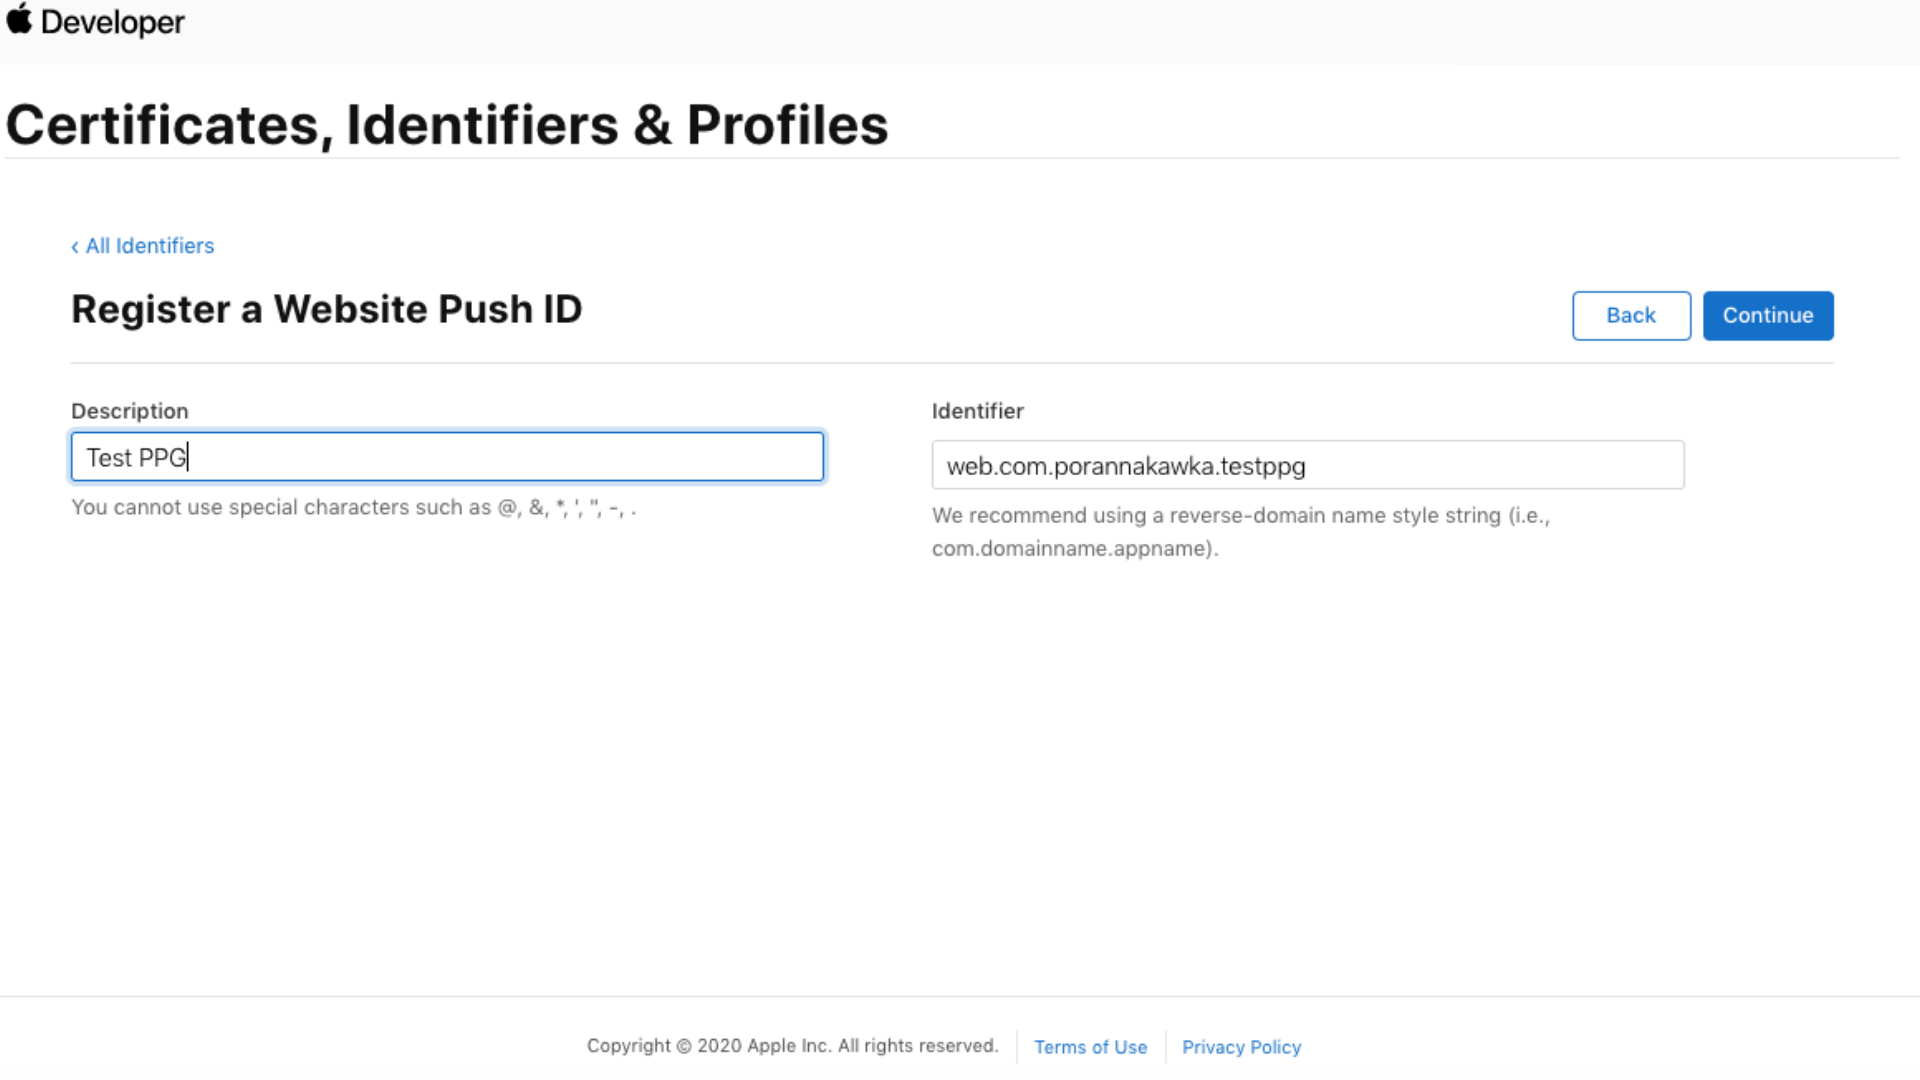
8. Click Continue and check if the data is correct. Then Register it.
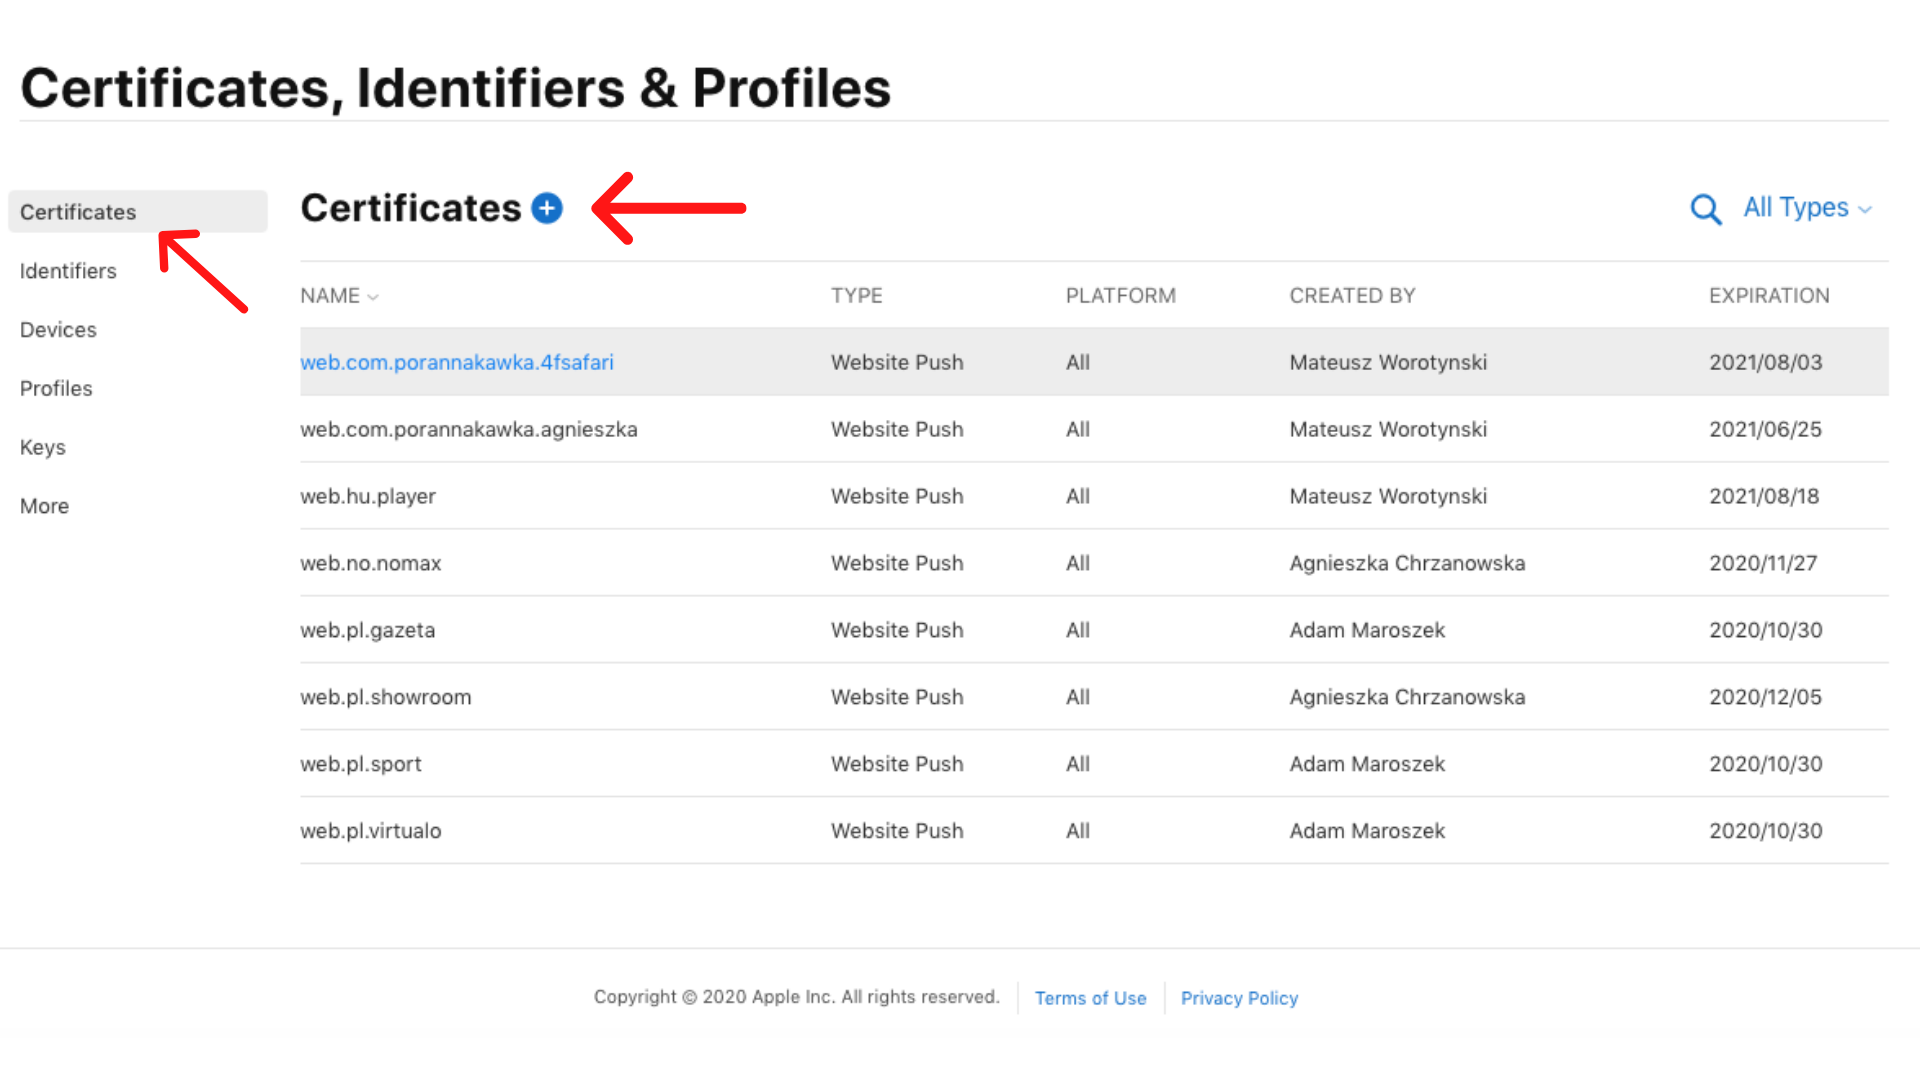
9. Now enter the Certificates tab. You will see the list of all your certificates.
Click on the + icon.
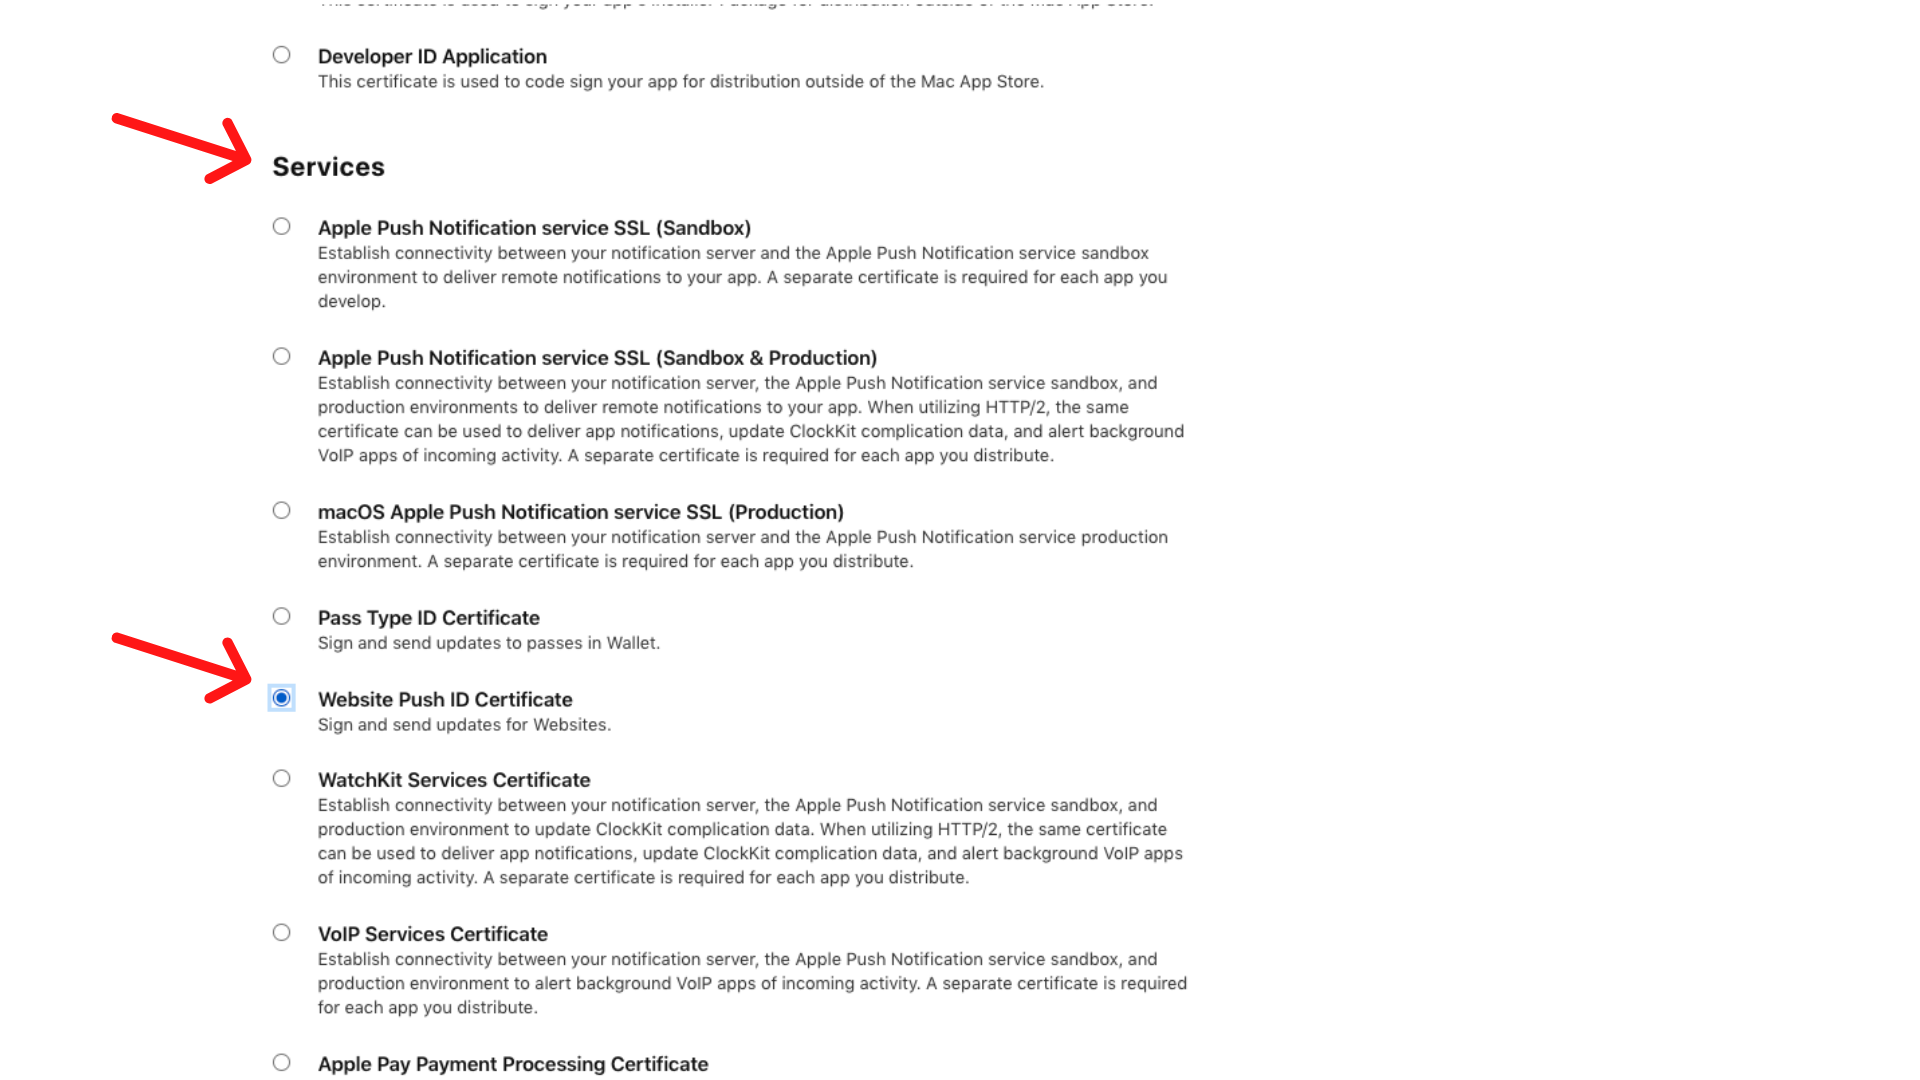
10. Scroll down to Services and choose the Website Push ID Certificate type, click Continue.
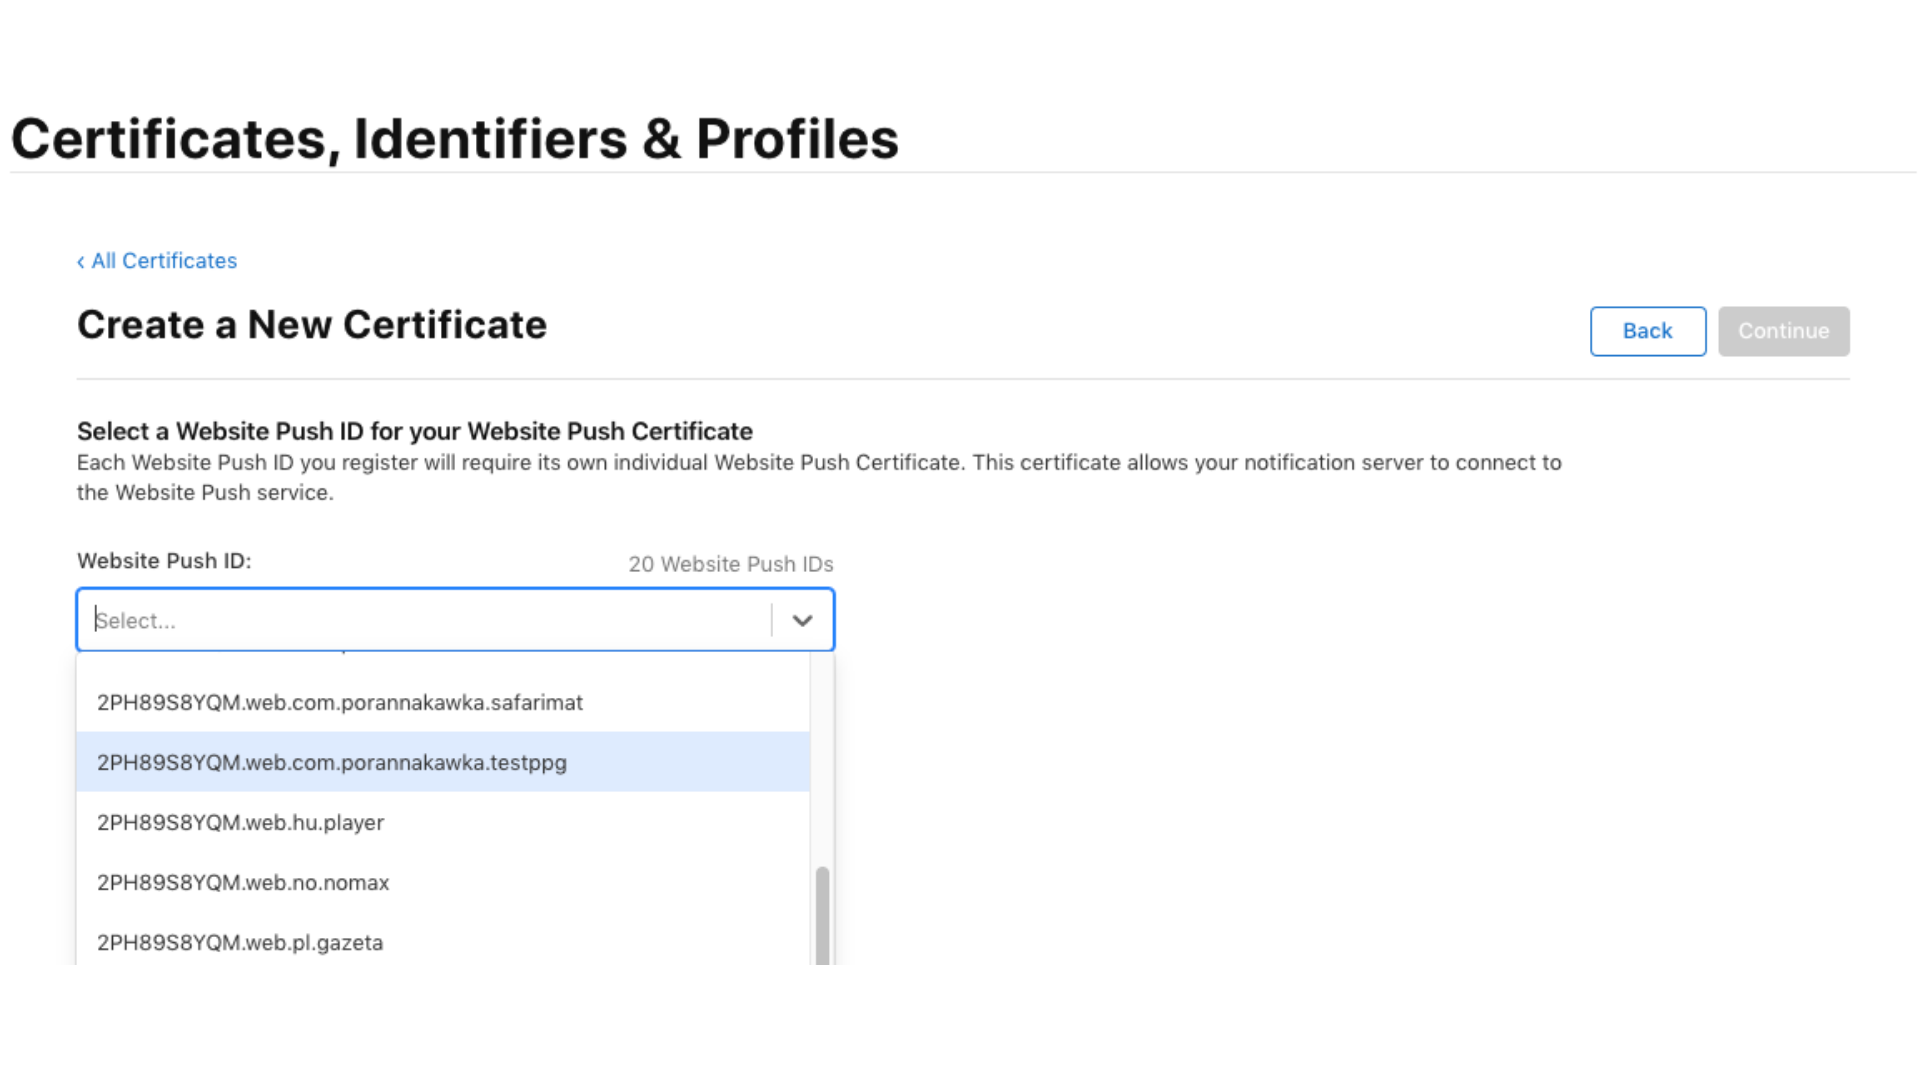
11. From the list, choose just created Website ID and click Continue.
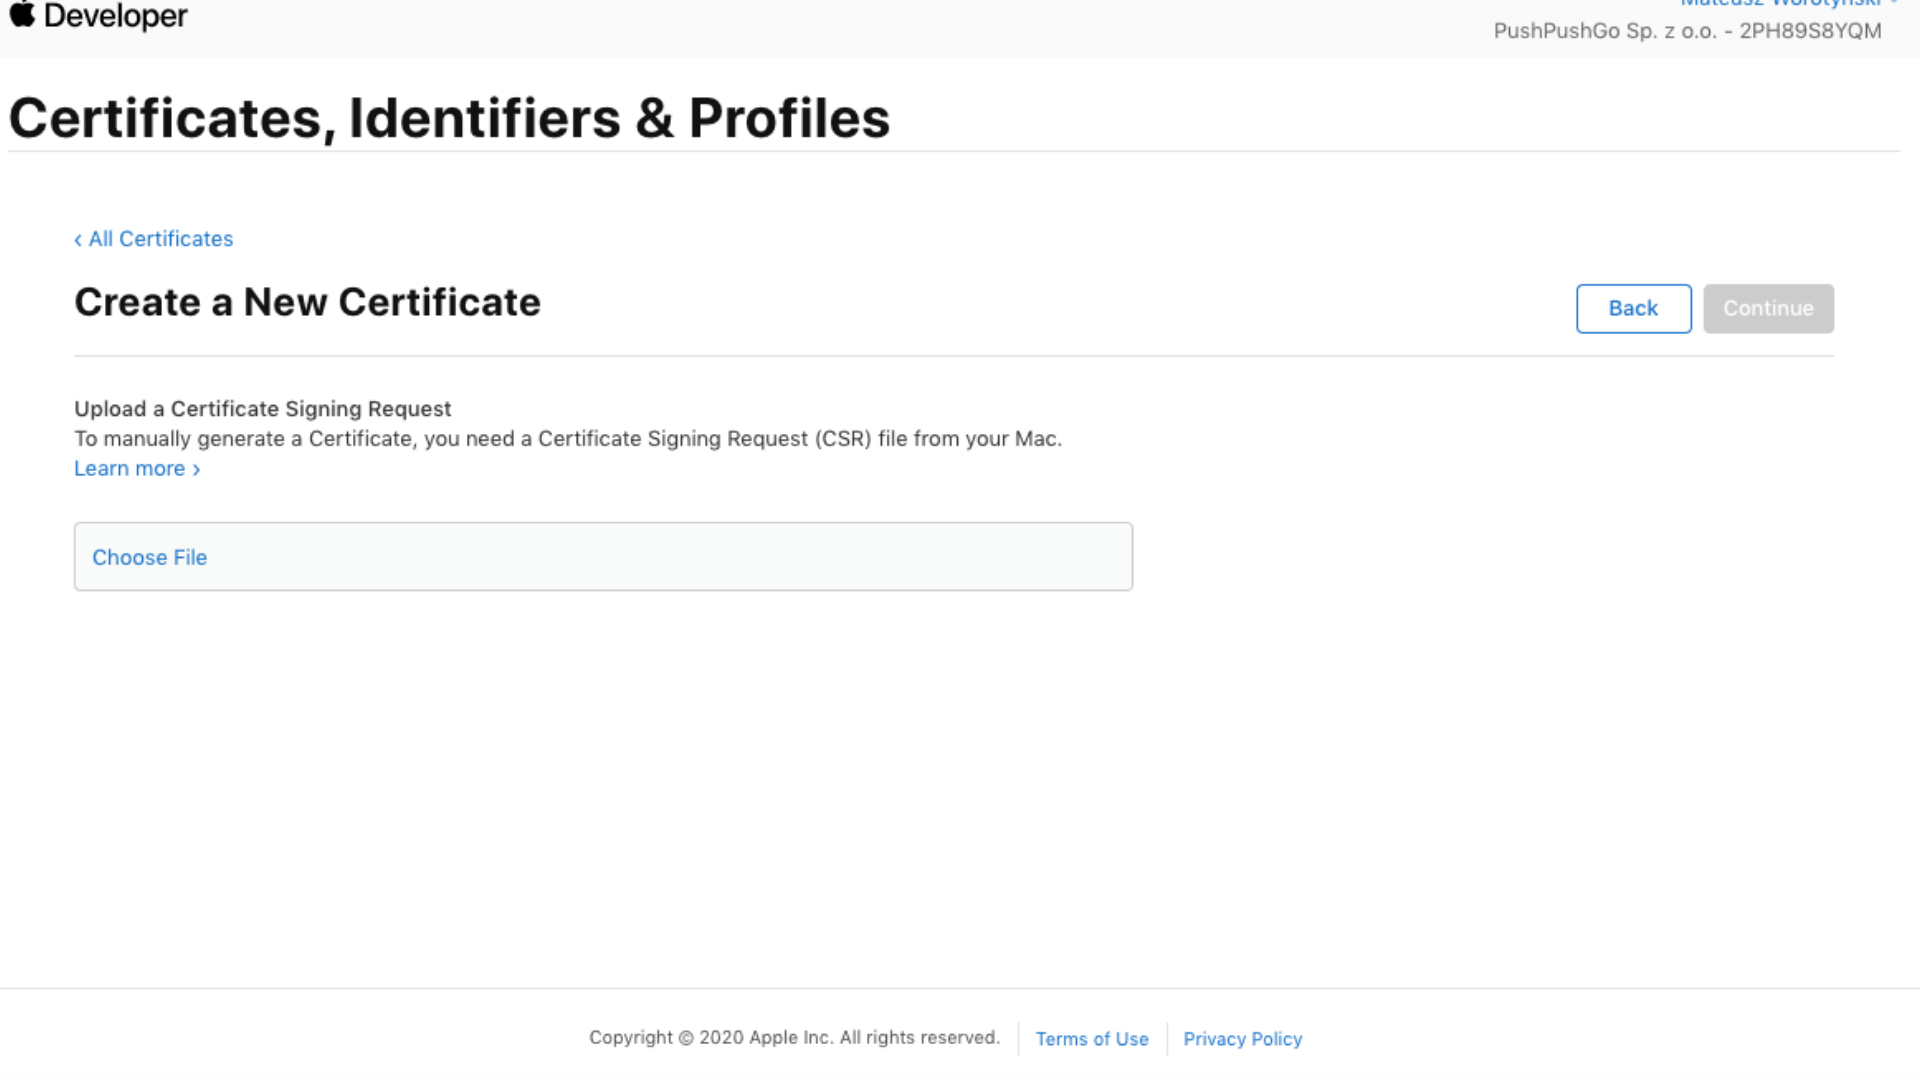
12. Within this tab, you need to upload the Certificate Signing Request by the Choose File button.
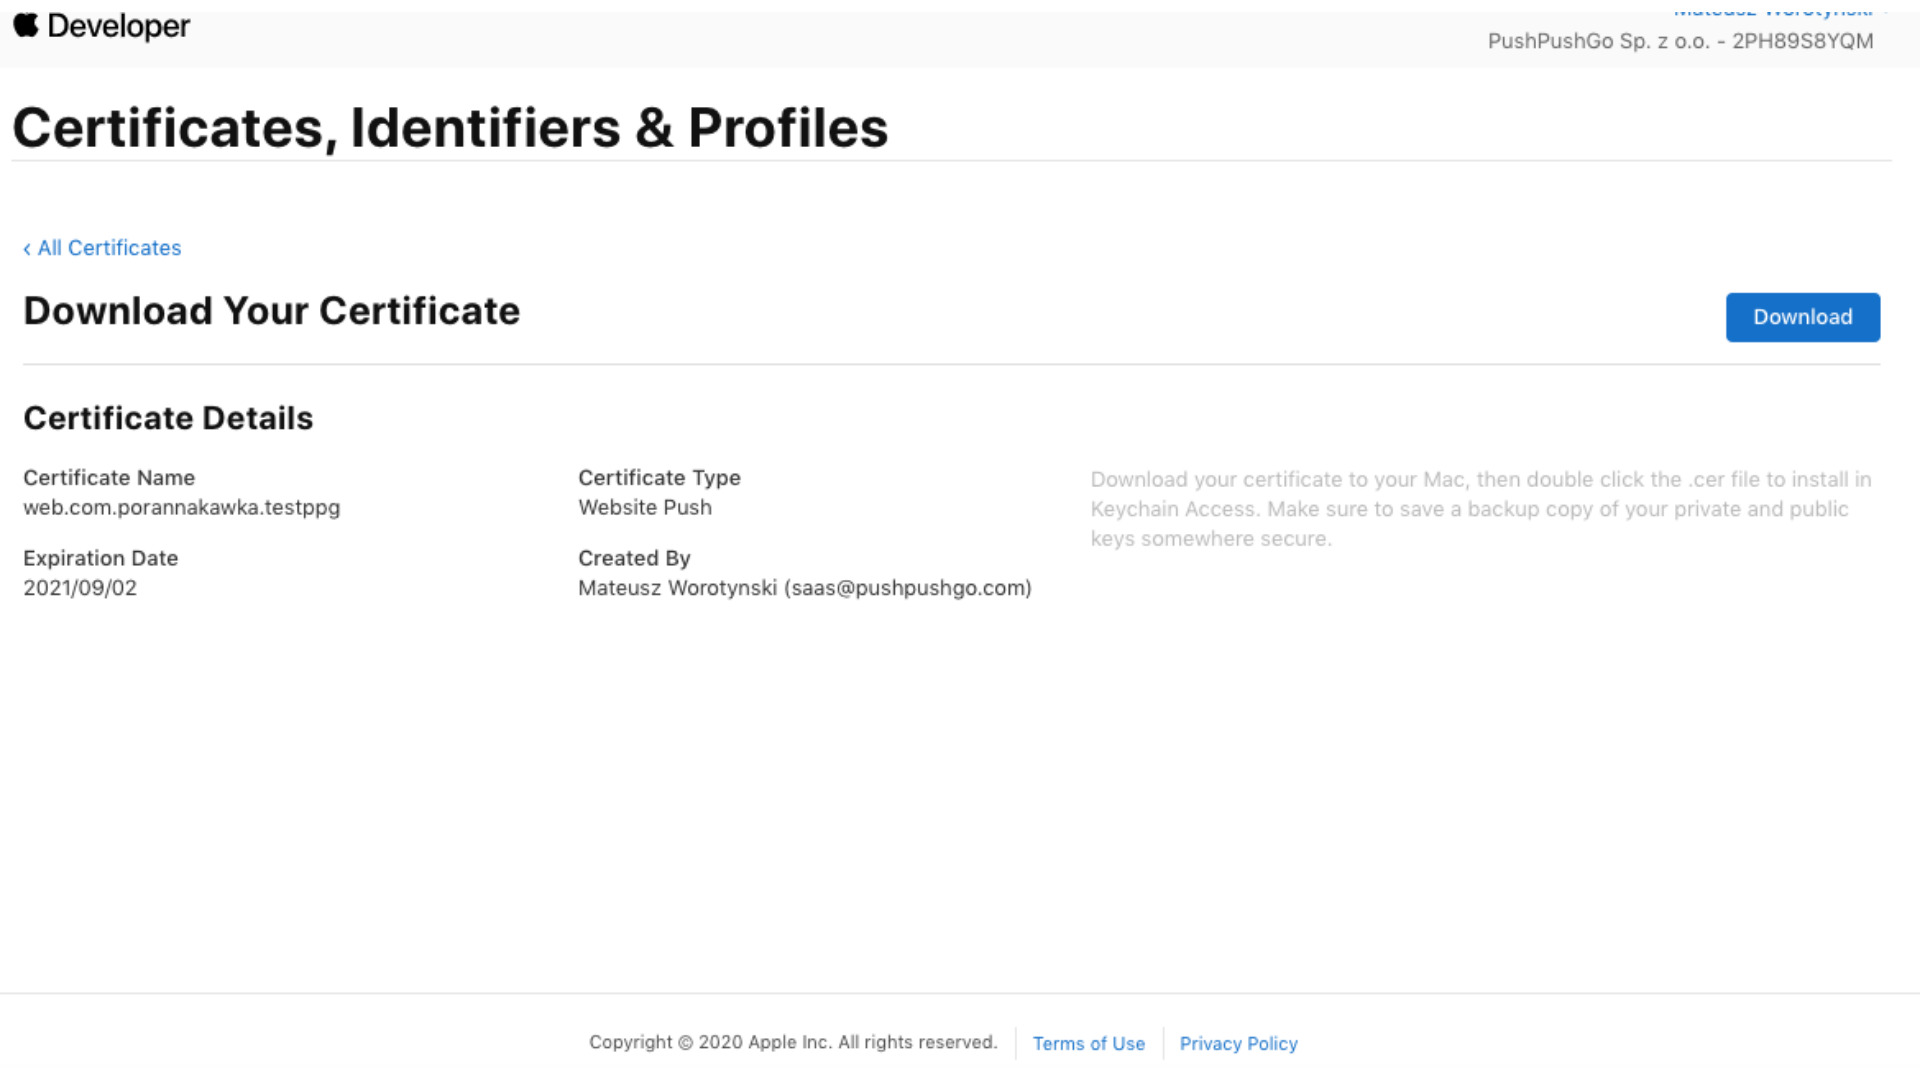
13. You can download your certificate. Once you do that, click twice on the file to install it.
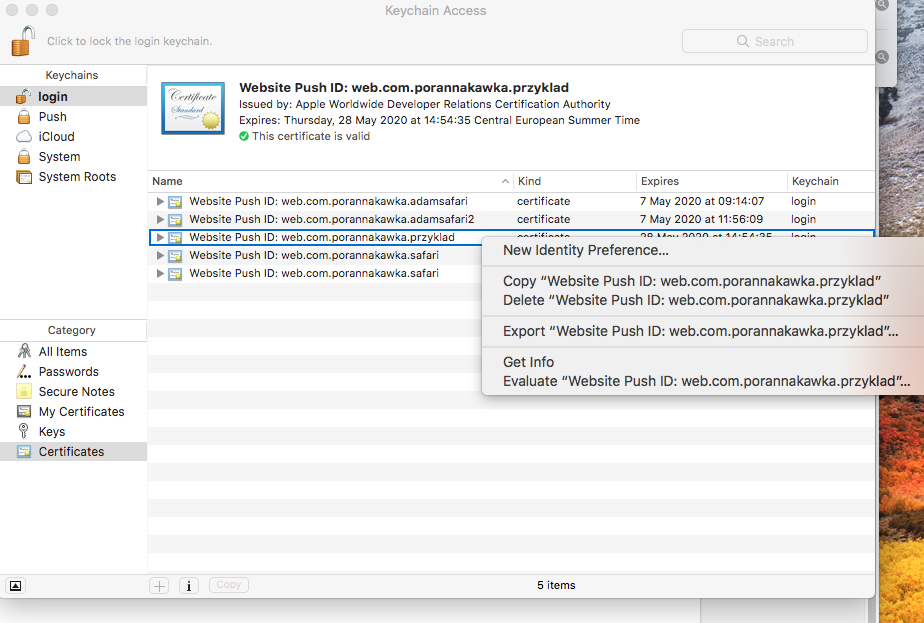
14. An installed certificate will be displayed in the Keychain Access. This certificate must be exported - to do that, right click on the file and choose the Export “Website Push ID: URL of your domain”.
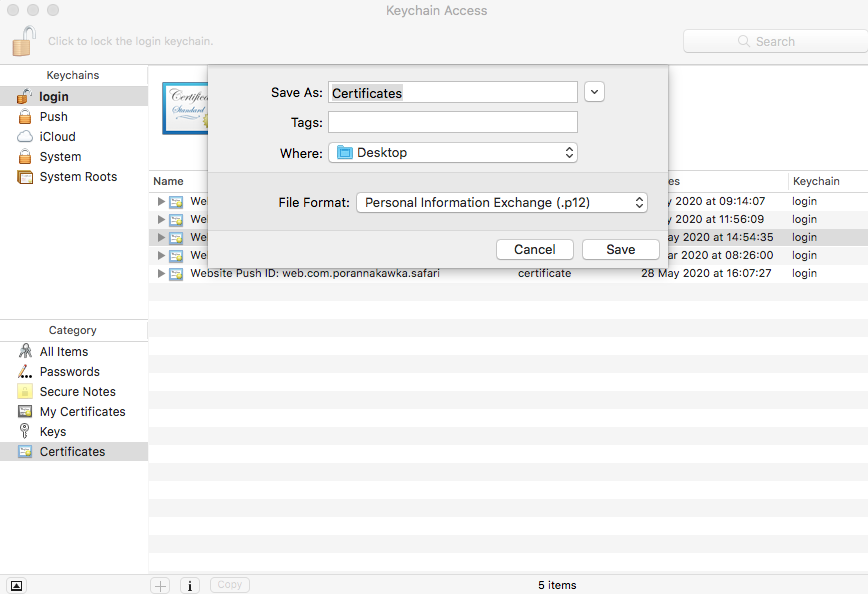
15. We recommend not to change the name of this file. Just type the place where you wish to export it.
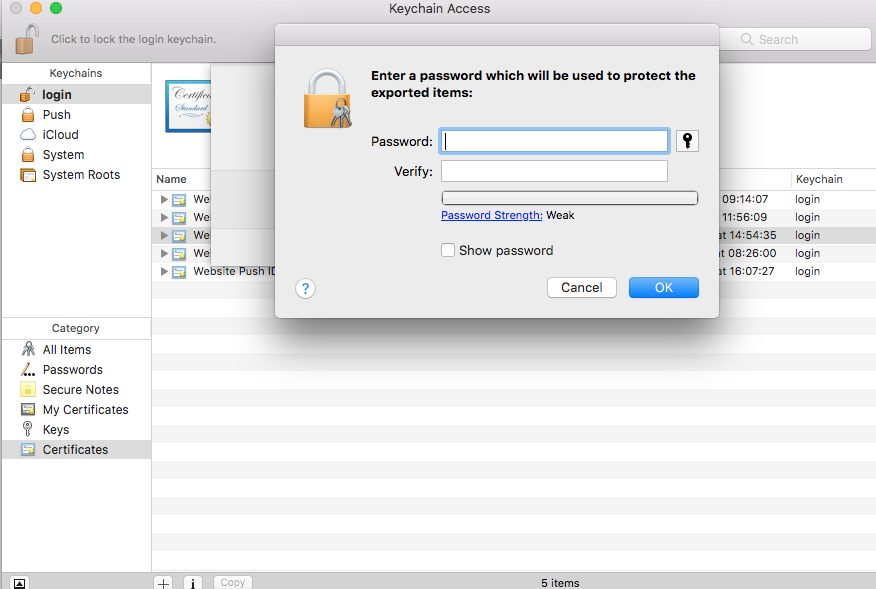
16. Think up the password and enter it in the field. Do not forget this password! It will be required soon :)
17. Your certificate is already on your device.
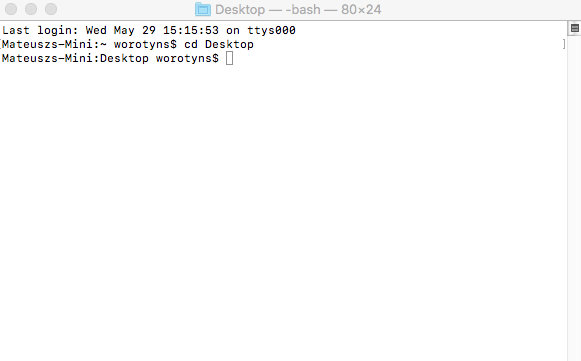
18. The last steps will lead you to the Terminal. Once you open the console, type the folder where your Certificates.p12 is. You can do that by typing cd Name of the folder (like cd Desktop).
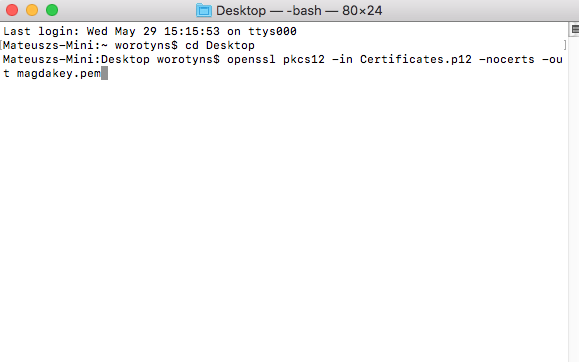
19. It is time to create the key. In the console type the openssl pkcs12 -nocerts -out appkey.pem -in Certificates.p12 (eg. magdakey.pem).
20. Right after clicking the enter button, the Terminal will ask you for the password (you created in the 16th step). You will not be able to see the process of typing - but believe us, it works :)
21. Now you need to create the certificate in the same way. So type the openssl pkcs12 -clcerts -nokeys -out appcert.pem -in Certificates.p12(eg magdacert.pem). The Terminal will ask you once again for the password.
22. You can check if created cert and key are correct by typing cat appcert.pem and cat appkey.pem
23. Do not close the Terminal yet! Now it’s the time to remove the security from the key. Otherwise, every time you wish to send web push notification to Safari users, your password will block it. Then type openssl rsa -in appkey.pem -out appkey-noenc.pem
24. The last step is to ask PushPushGo for access to Safari integration. Once we give you the permission, login to the app and enter the Website tab. On the bottom, you can upload the key (appkey-noenc.pem) and certificate (appcert.pem)
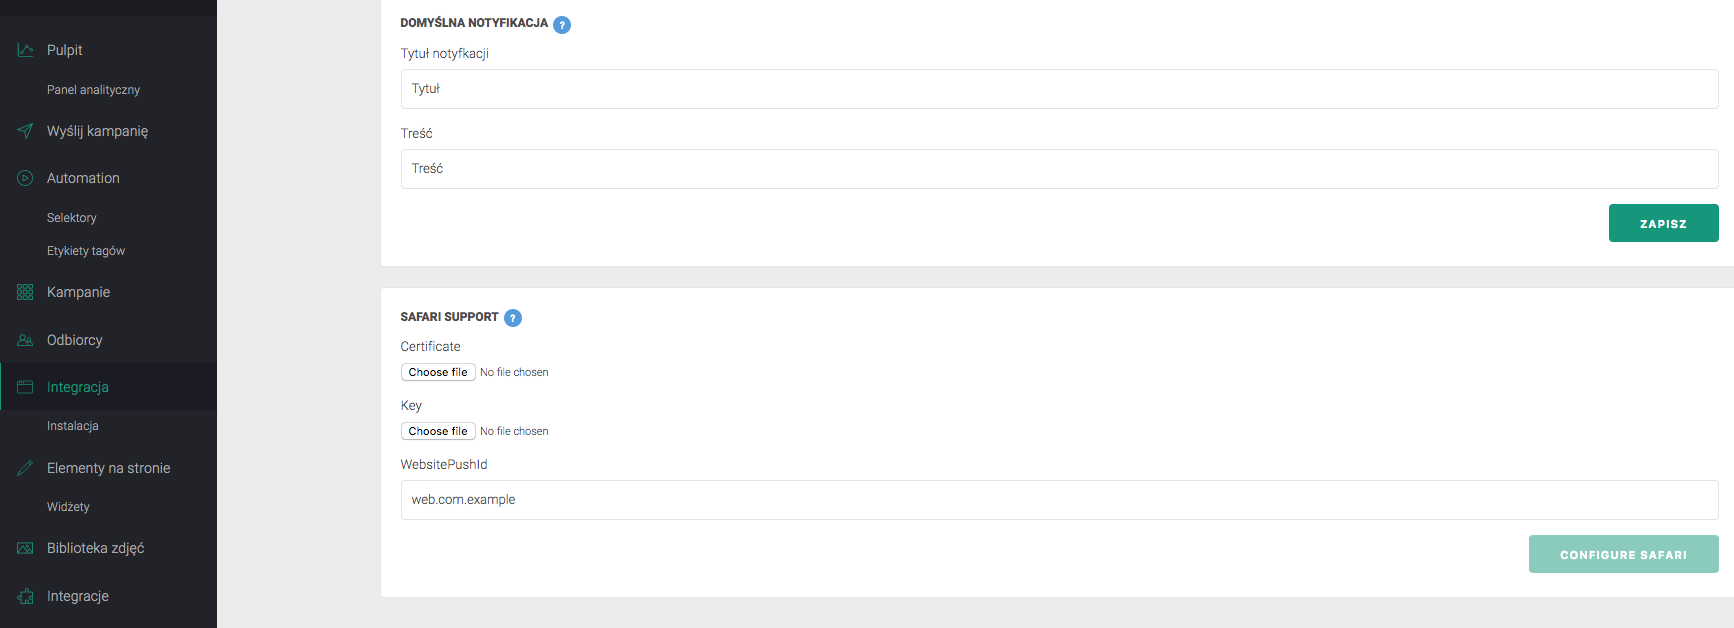
25. Below enter the reverse domain URL, then click Configure Safari
Important: Your Safari certificate remains valid for 389 days. After this period, it will expire.
26. When the certificate expires, go back to Apple Developer and create a new certificate by following the instructions. Then replace it in the place of the old one on your PushPushGo account.


