Test web push on your website
Get started for free
The trial version includes all features
Your first steps in PushPushGo
If you want to use geolocation when sending mass campaigns, you first need to configure your application to gather the data about the subscriber's location.
To do this, follow the instructions below:
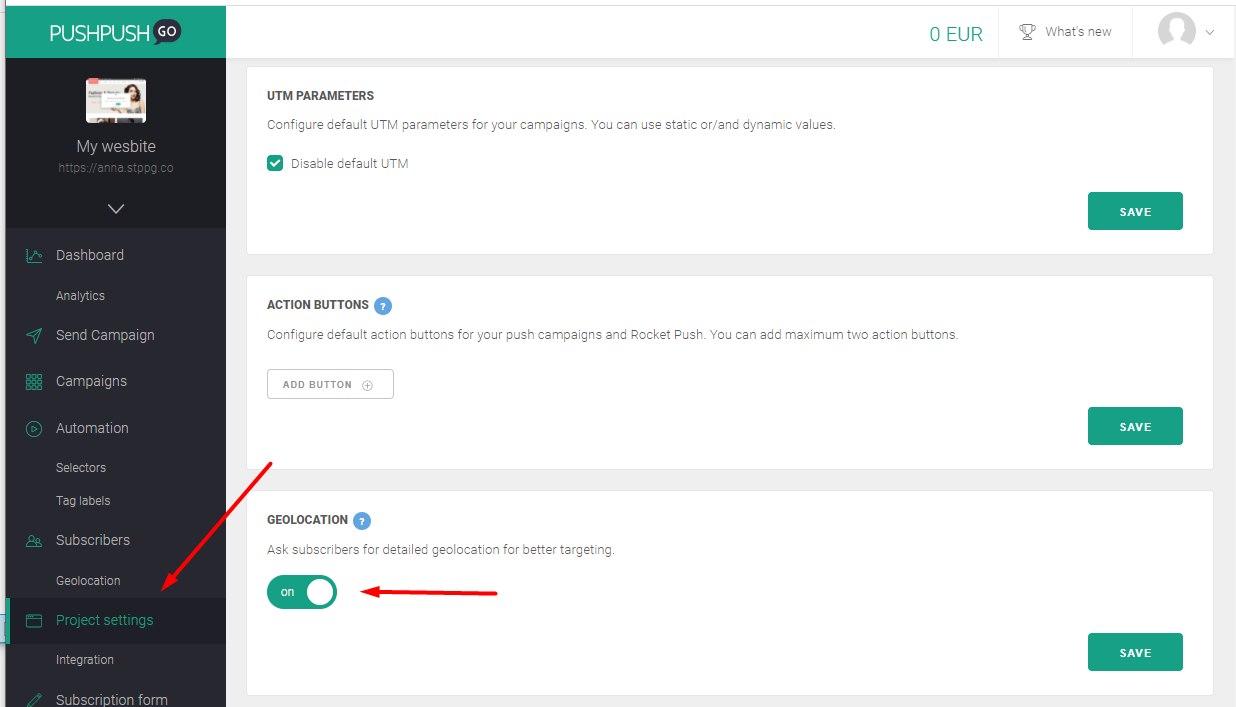
1. Go to the Project settings tab and enable geolocation.
From this moment the application will download data about the location of subscribers based on their last visit to the website and data provided by the given browser.
NOTE: Each of your subscribers will receive a one-time pop-up requesting access to their location immediately after entering your website. If the subscriber does not give consent or such a notification has not yet been displayed (since geolocation was not enabled on your site), the default location will depend on the IP address provided by the user’s Internet provider.
2. Create polygons or specific locations that you will want to use in your mass campaigns. To do this, go to the Geolocation tab and click the "New polygon" button.
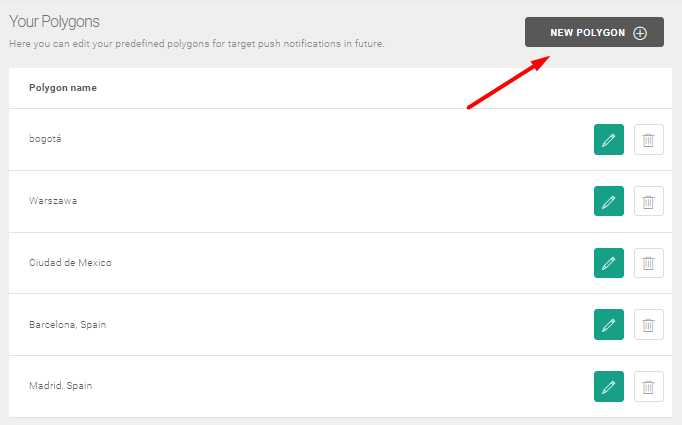
Polygons can be specific cities, provinces, countries or more specific locations.
a) in place "A" search for the location on the basis you want to use to create a new polygon
b) wait until the territorial range appears on the map
c) in place "B" enter the name of the training ground and click Save.
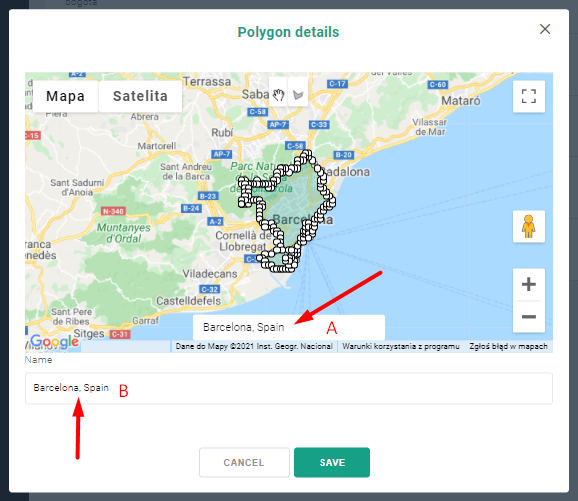
NOTE: You can also manually specify the territorial range of the new training ground. All you have to do is define your own location in the location search engine using the Polygon border drawing tool.

Or you can freely transform the border based on the previously entered locations.
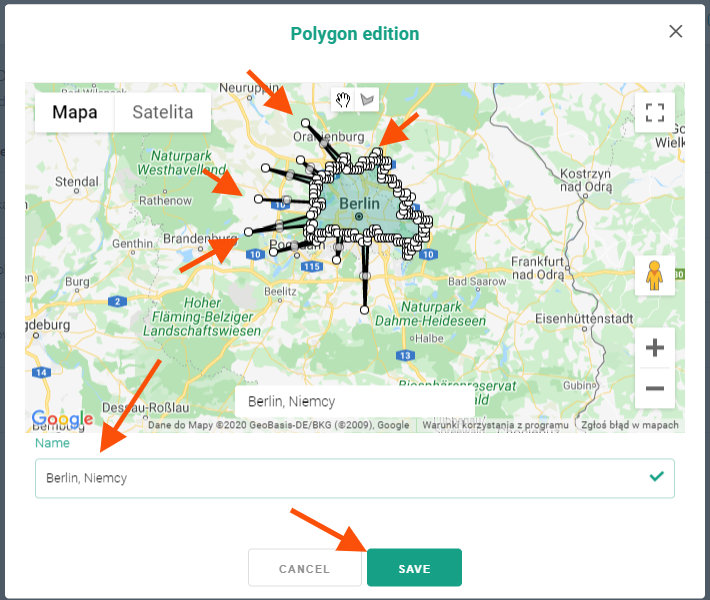
Remember to name a new polygon every time you define your own territorial range.
You can use polygons as soon as they are created.
3. To send a mass campaign to users in a particular location, with its configuration in the Targeting step, click Targeting by geolocation.
Note: When sending a mass campaign, you can use only one type of targeting - either by geolocation or tags.

4. In the next step a map will appear, followed by a list of created polygons.
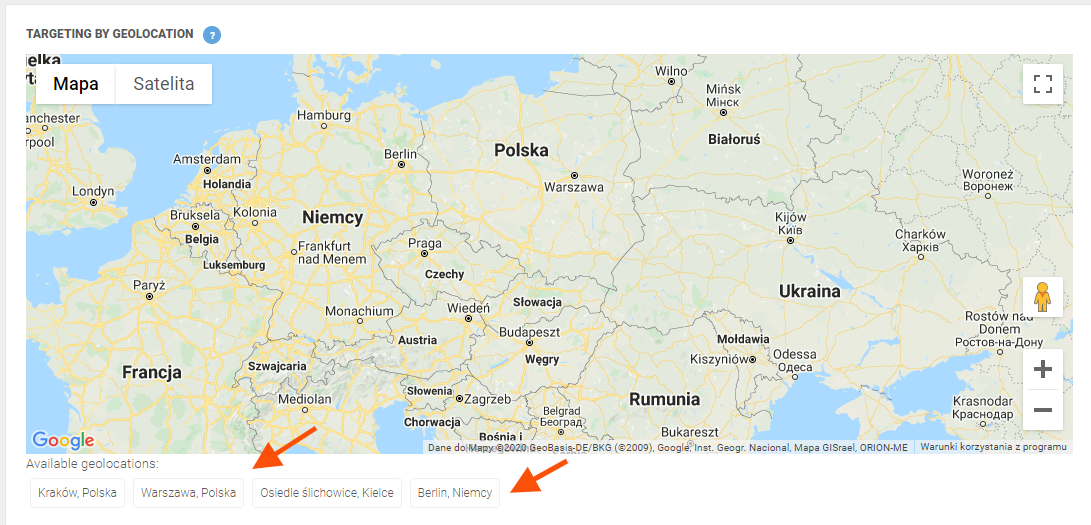
5. Click on the selected polygons and then on the "Next" button.
Continue as with other mass campaigns.

NOTE: Information on the number of subscribers assigned to polygons is verified at the time of campaign sending. Only after this process will you find out how many subscribers a given mass campaign has been sent to.


