Test web push on your website
Get started for free
The trial version includes all features
Your first steps in PushPushGo
Some of the selectors we have created need to be updated so that the information on subscriber behavior is consistent with the current state, like:
To do this, you need an automation scenario.
The custom fields you created and their updates will be used in the automation scenarios. More on this topic in the Automationchapter.
1. Go to the AUTOMATION > NEW AUTOMATION tab.
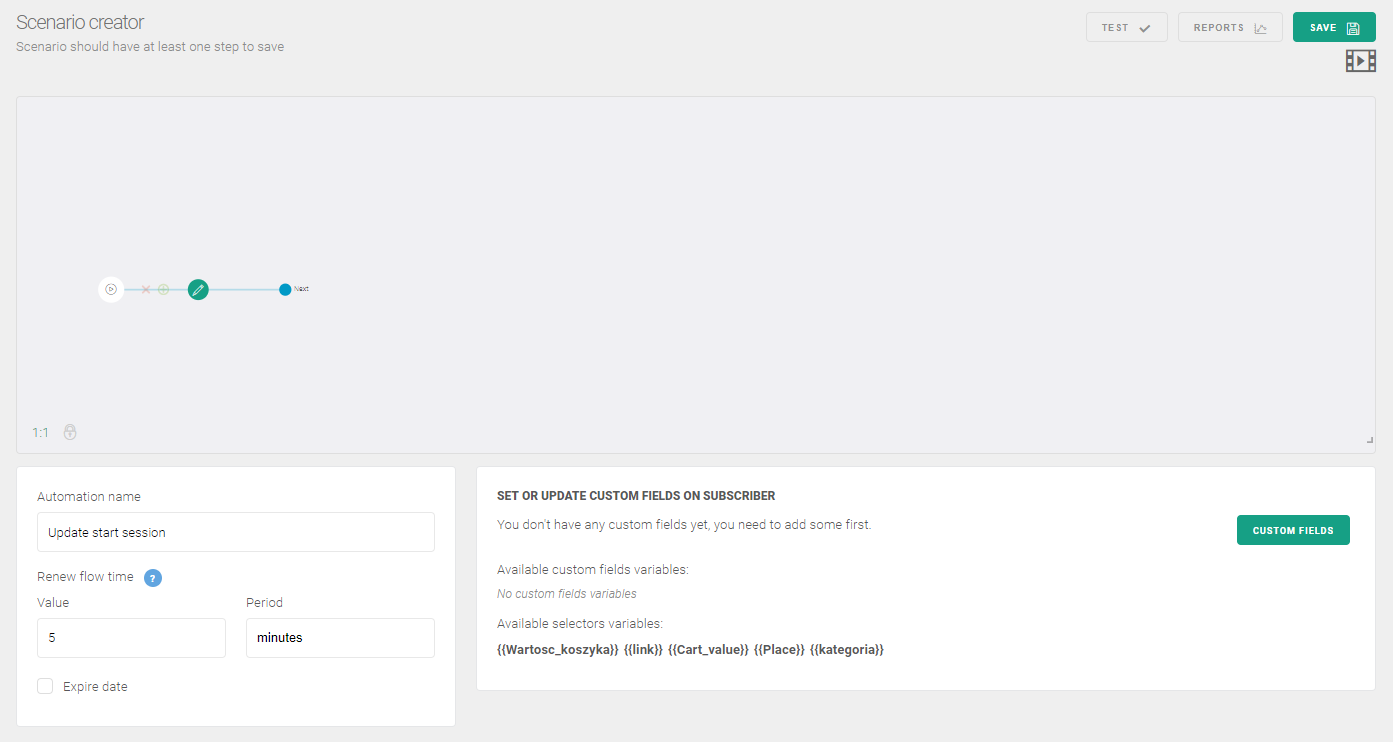
2. The scenario starts with naming and choosing the appropriate Trigger event. It will always be the end of the session, with the exception of the welcome message, when you select Start session.
3. In the Scenario Wizard that appears, fill in the Name of the automation, eg. Data update
4. Specify the Renew flow time to 5 minutes.
5. Then click Next in the scenario tree. From the available behaviors, select Action> Update.
6. Click the Custom field> Add new button.
7. Here, specify the type of element to be downloaded from the page. It can be:
Careful! The names of the additional fields should be different than the names of the selectors.
8. Save the custom fields.
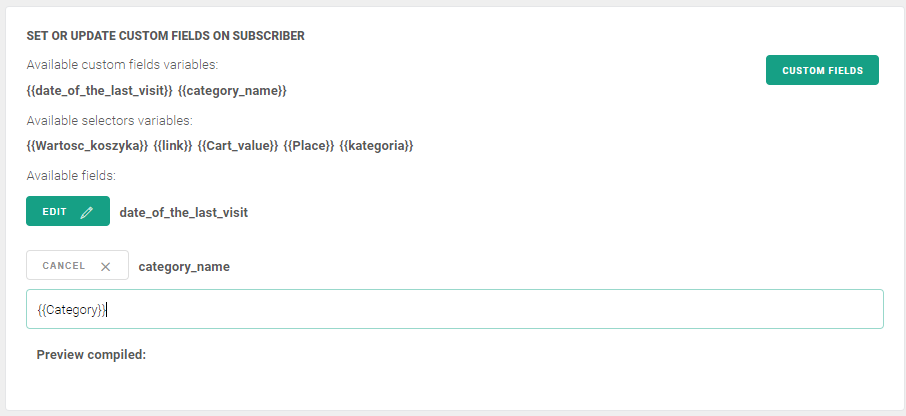
9. After closing the Creator Wizard window, update the custom fields you created by clicking Update. Then enter the name of your variable in curly brackets, like {{last_category}}
Careful! In the case of the last link visited, you must add a special parameter to make the link fall back properly. Otherwise, the notification will be posted twice http or https, which in turn will redirect your recipient to the 404 error page.
Example:
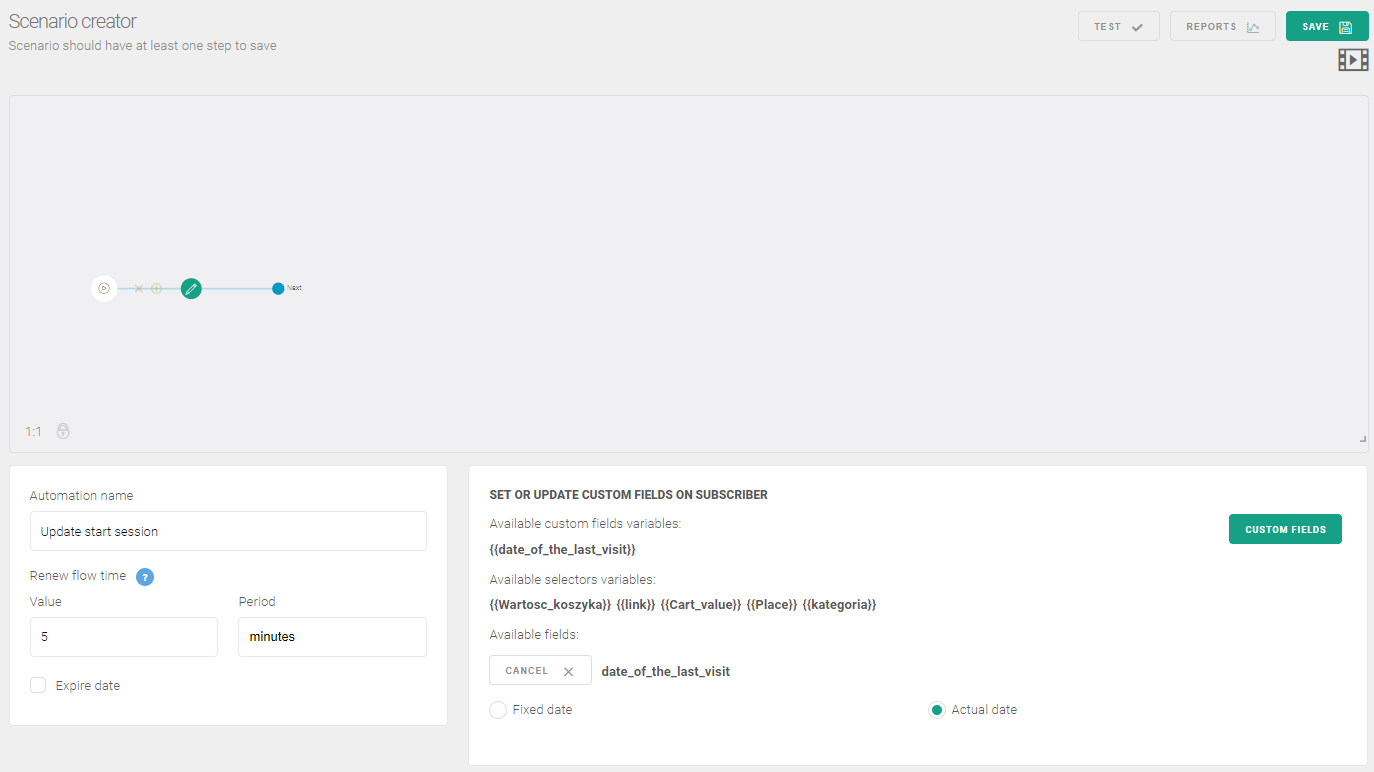
10. For the Date of the last visit, it is enough to check the current data after clicking on Edit.
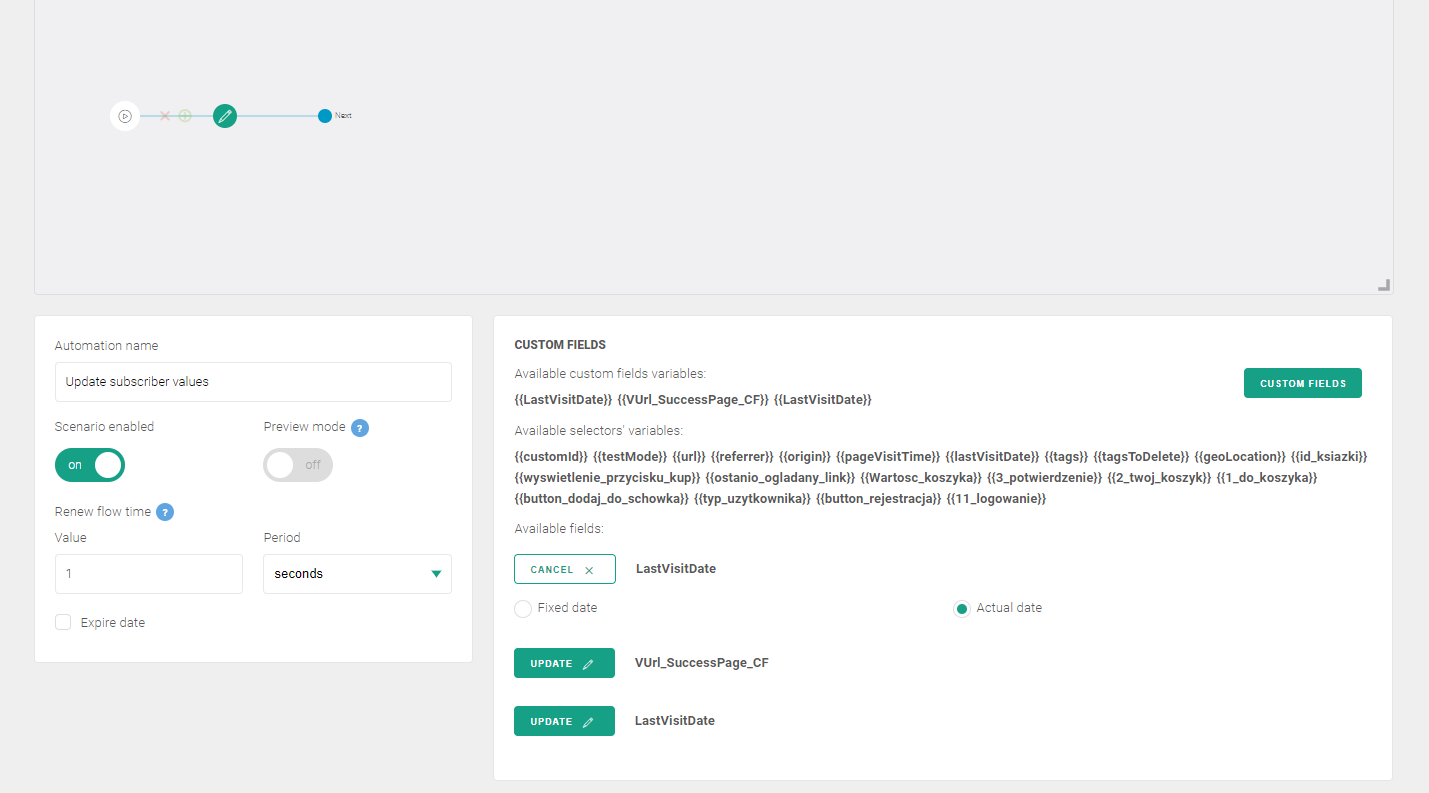
11. In contrast, for a Numeric Value, we must not only enter the name of its variable in brackets but also specify its Operator:
12. The last type concerns clicked items. All you have to do is check the checkbox here.
13. Finally, enable the scenario with the switch directly below the scenario name and click the Save botton in the upper right corner.