Test web push on your website
Get started for free
The trial version includes all features
Your first steps in PushPushGo
Thanks to PushPushGo you can:
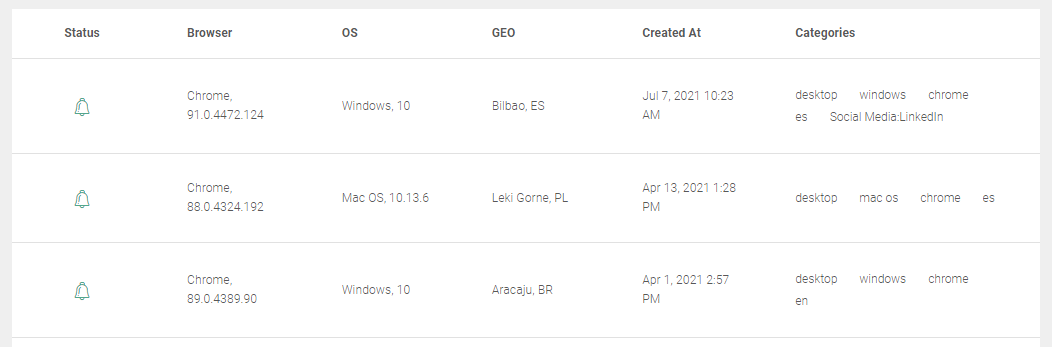
a) tag your subscribers and collect additional information about their activities:
b) send personalized automation campaigns to a specific subscriber, as soon as he meets certain conditions, like he visited page X, abandoned a basket, his last visit was 7 days ago, etc.
The scenarios in which automated campaigns will be sent will be configured in the AUTOMATION module.
Selectors that automatically allow subscribers to be tagged, e.g. after visited categories, or enable the collection of additional information about the subscriber (like the value of a cart, the number of products in the cart, etc.) will be set in the SELECTOR module.
In order for the automation scenario to be correctly configured, you have to specify:
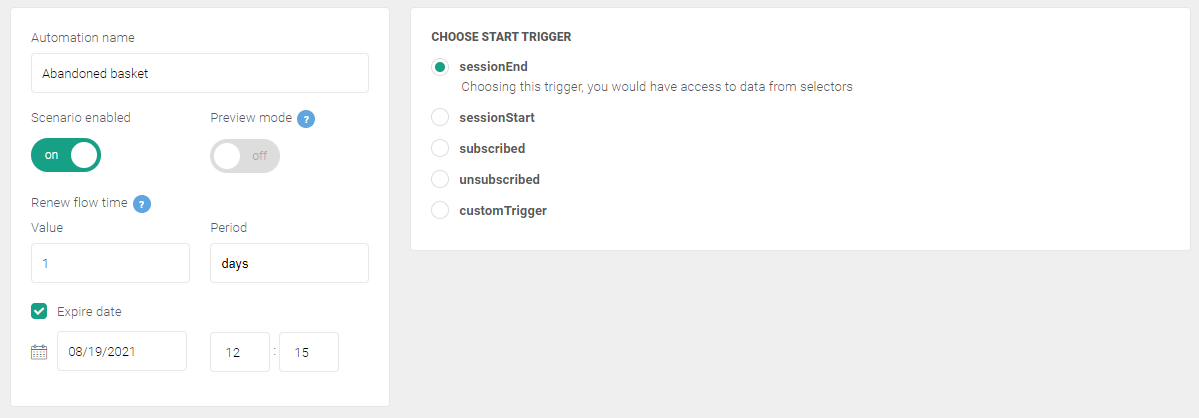
1. Start event (trigger) - the moment that starts the automation, like the start of a session, the end of a session, subscription for notifications, etc.
2. Renew flow time - how long a given scenario should last for, after how much time the subscriber can return to data automation
3. Expire date (optional) - you can specify the exact date up to which a given scenario should be active. Without an expiration date, it will operate indefinitely.
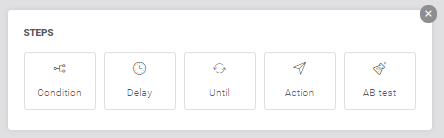
4. Conditions that the subscriber has to fulfil in order to fall into a given scenario: date of the last visit was 7 days ago, has the tag "dress", the value of the basket is greater than $100
5. Delay: time after which the specified action is to be performed
6. Action, you determine what will happen in the next step of the scenario:
Once you have defined all the above elements of the scenario, all you have to do is turn it on and follow the results of its operation.
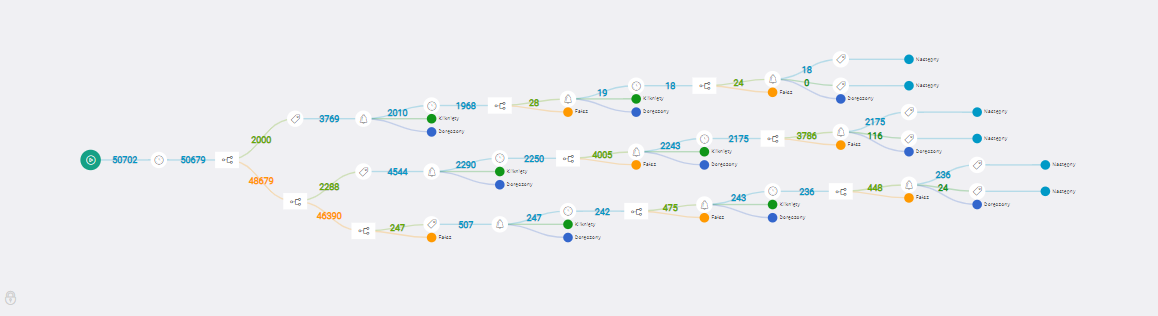
To check the results of automation scenarios, just click the REPORTS button in the upper right corner of the scenario path view. Statistics on the number of people who have followed a given path appear on the automation tree. Click the notification icon and you will get detailed information on the effectiveness of the campaign sent under this scenario.
Remember that by selecting the report button, the automation scenario is displayed in the information mode - it is not possible to edit the given scenario. To return to the creation of the automation scenario, select the EDIT SCENARIO button next to the REPORTS button.