Test web push on your website
Get started for free
The trial version includes all features
Your first steps in PushPushGo
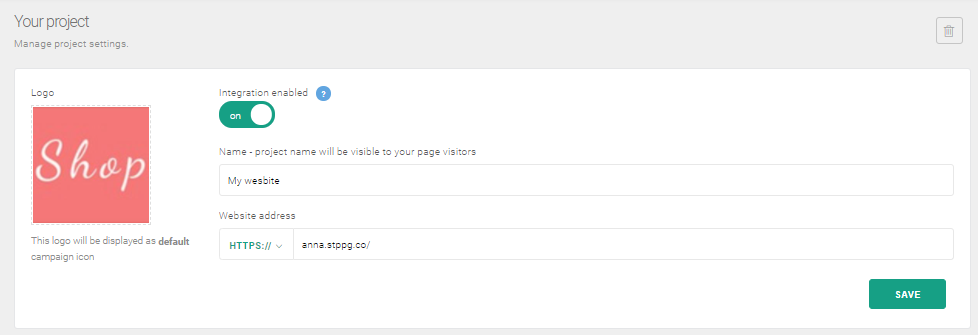
In the Project settings tab there are additional options that will allow you to personalize your integration settings:
The image you upload will be edited into a square and will display:
The graphics you use must be a square (size does not matter) of no more than 200 KB. The file formats you can use are: JPG or PNG.
The name of your project is visible to your recipients when they subscribe to notifications—you can change it at any time.
If you want your subscribers to temporarily not see the subscription form, all you need to do is to switch the integration settings to OFF. You can turn it back on at any time.
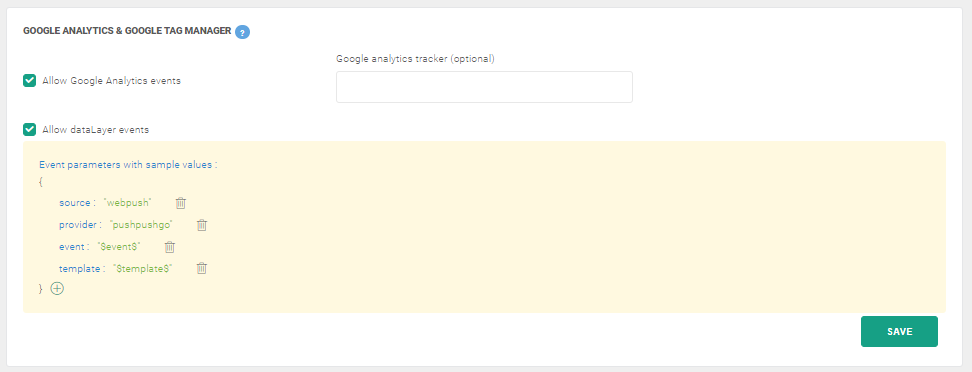
With these options, you can submit more advanced information to your Google Analytics panel or capture it through Data Layer. This can include information like:
You can find more information about Events in Google Analytics here.
If you use several trackers in your Analytics, you can enter the name of the tracker where events are to be sent in the field next to the checkbox. By entering the name of the tracker, events will be sent as follows:

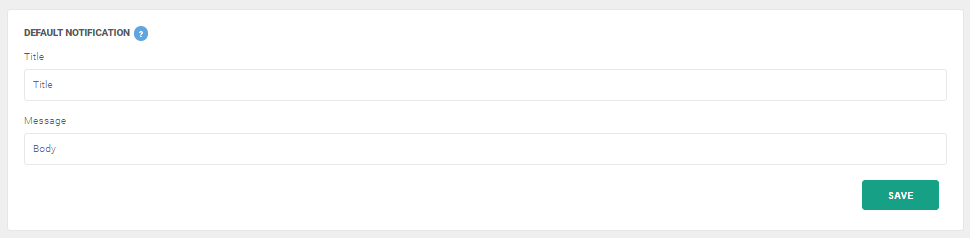
Sometimes, due to technical reasons, the campaign you plan cannot be sent and recipients receive a default notification with the text "Your site has been automatically updated". This is due to the way the browser works and we have no influence over it.
However, in order to give recipients a more informative message, you can set your own content for automatic notifications in the fields below, like "We have updated your web push notification settings."


